Aug 15, 2021
Previewing the effects – Creating a Basic Animation Using Effects and Presets
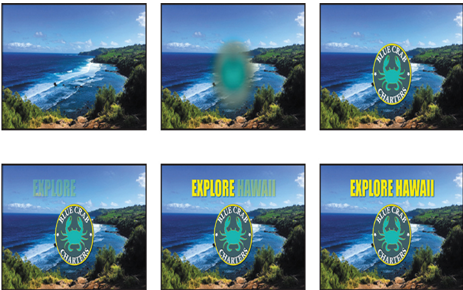
It’s time to preview all of the effects together.
- Click the Explore Hawaii tab in the Timeline panel to switch to the main composition. Press the Home key or drag the current-time indicator to make sure you’re at the beginning of the time ruler.
- Make sure the Video switch (
) is selected for both layers in the Explore Hawaii Timeline panel.
- Click the Play button (
) in the Preview panel, or press the spacebar, to watch the preview. Press the spacebar to stop playback at any time.
Adding transparency
The logo should appear semitransparently in the corner of the frame during the presentation. You’ll reduce the opacity of the logo, scale it, and shift its position so that it can be used this way.
- Still in the Explore Hawaii Timeline panel, go to 2:10.
- Select the BlueCrabLogo layer in the Timeline panel.
- In the Properties panel, click the stopwatch icon (
) next to Opacity to set a keyframe at this point in time. By default, the Opacity is 100%—fully opaque.
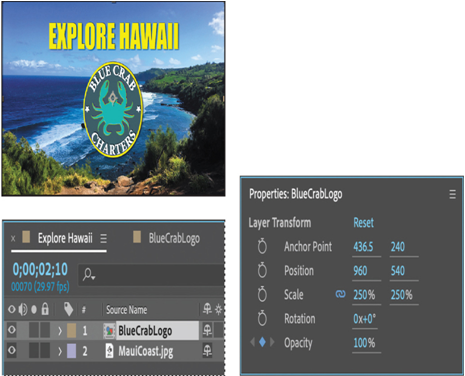
4. Press the End key or drag the current-time indicator to go to the end of the time ruler (2:29), and change the Opacity to 40%. After Effects adds a keyframe.

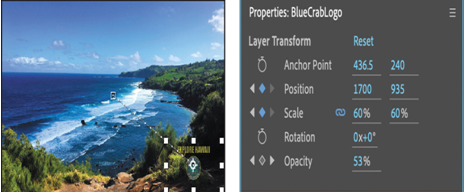
The logo appears, the words Explore Hawaii show up, and it all fades to 40% opacity.
5. Go to 2:10, and click the stopwatch icons () to set initial keyframes for both the Position and Scale properties.
6. Go to 2:25, and change the Scale to 60% and the Position to 1700, 935.
7. Click the Play button () in the Preview panel, press the spacebar, or press 0 on your numeric keypad to preview your composition.
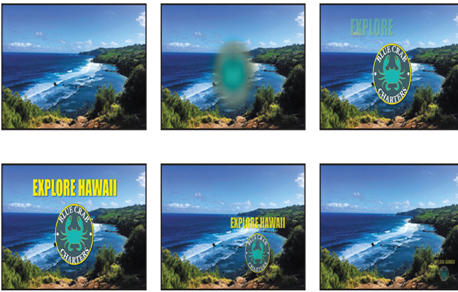
8. Press the spacebar to stop playback when you’re done.
9. Choose File > Save to save your project.
More Details