Apr 5, 2023
Skewing the range of text – Animating Text
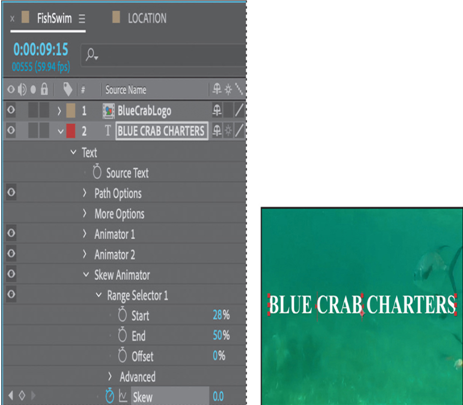
Now, you’ll make that middle word shake and shimmy by setting Skew keyframes.
- Drag the Skew Animator’s Skew value left and right, and notice that only the selected word sways. The other words in the line of text remain steady.
- Set the Skew Animator’s Skew value to 0.
- Go to 9:15, and click the stopwatch icon (
) for Skew to add a keyframe to the property.
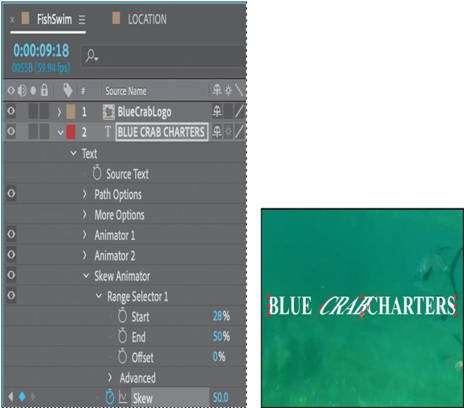
4. Go to 9:18, and set the Skew value to 50. After Effects adds a keyframe.
5. Go to 9:25, and change the Skew value to −50. After Effects adds another keyframe.
6. Go to 10:00, and change the Skew value to 0 to set the final keyframe.
7. Click the Skew property name to select all of the Skew keyframes. Then choose Animation > Keyframe Assistant > Easy Ease to add an Easy Ease to all keyframes.
8. Hide the properties for the BLUE CRAB CHARTERS layer in the Timeline panel.
Tip
To quickly remove all text animators from a text layer, select the layer in the Timeline panel, and choose Animation > Remove All Text Animators. To remove only one animator, select its name in the Timeline panel, and press Delete.
9. Press Home, or go to 0:00, and then preview the entire composition.
10. Press the spacebar to stop playback, and then choose File > Save to save your work.
Animating a layer’s position
You’ve used several text animation presets to dazzle your audience. For a simpler effect, you can animate the Transform properties for a text layer, just as you can any other layer.
Currently, the company logo appears onscreen, but there’s no context for it. You’ll add the words Providing Excursions Daily, animating them so that they move into position as the company name is appearing onscreen.
- In the FishSwim Timeline panel, go to 11:30.
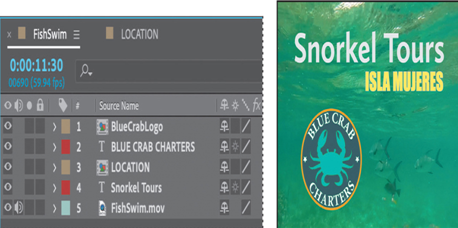
At this point, all the other text is onscreen, so you can position the “Providing Excursions Daily” line accurately.
2. Select the Horizontal Type tool ().
3. Make sure no layers are selected, and then click in the Composition panel. Make sure you’re clicking in an area that doesn’t overlap an existing text layer.
Tip
To make sure no layers are selected, click an empty area in the Timeline panel, press F2, or choose Edit > Deselect All.
4. Type Providing Excursions Daily.
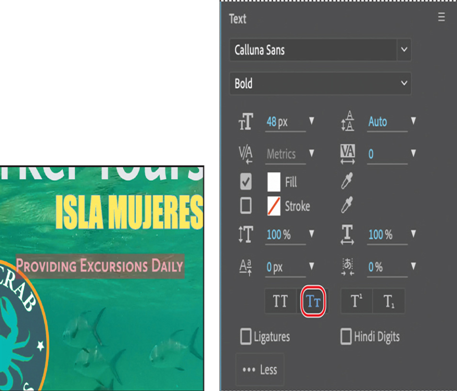
5. Select the text you just typed. Then, in the Properties panel, choose Calluna Sans Bold from the Font Family menu. Set the Font Size to 48 px.
6. Make sure the Fill Color box is set to white.
7. Click More to see additional options. Then select Small Caps. Leave all other options at their default settings.
8. Select the Selection tool (), and then drag the Providing Excursions Daily layer so that the text is aligned with the bottom of the logo and the right edge of Snorkel Tours.
9. In the Properties panel, click the stopwatch icon () next to the Position property to create an initial keyframe for the layer.

10.Go to 11:00, the point where the logo has replaced the company name.
11. Drag the Providing Excursions Daily layer off the right edge of the composition. Press the Shift key as you drag to create a straight path.
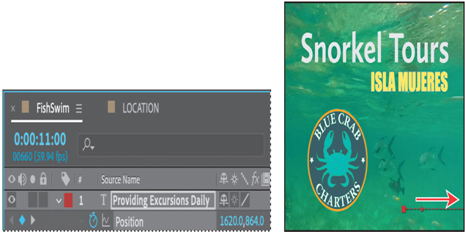
12. Preview the animation, and then hide all layer properties.

It’s simple, but effective. The text moves in from the right side and stops in its final position beside the logo.
More Details