Aug 18, 2022
About Adobe Bridge – Animating Text
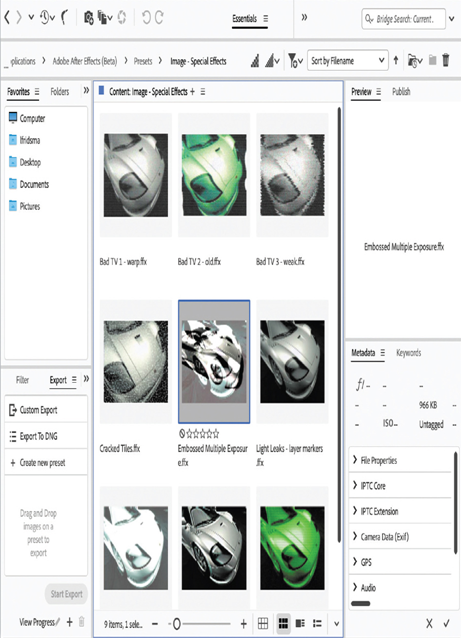
Adobe Bridge is a powerful, flexible tool for organizing, browsing, and locating the assets you need to create content for print, web, television, DVD, film, and mobile devices. Adobe Bridge keeps native Adobe files (such as PSD and PDF files) as well as non-Adobe files available for easy access. You can drag assets into your layouts, projects, and compositions as needed; preview your assets; and even add metadata (file information) to assets to make files easier to locate.
In this lesson, you’re opening Adobe Bridge from within After Effects, but you can also open Adobe Bridge directly. To do so, choose Adobe Bridge from the Start menu (Windows) or double-click the Adobe Bridge icon in the Applications/ Adobe Bridge folder (macOS).
The Content panel in Adobe Bridge updates interactively. For example, when you select the Assets folder in the Folders panel, thumbnail previews of the folder’s contents appear in the Content panel. Adobe Bridge displays previews of image files such as those in PSD, TIFF, and JPEG formats, as well as Illustrator vector files, multipage Adobe PDF files, QuickTime movie files, and more.
You may need to install Adobe Bridge separately from Creative Cloud. If Bridge is not installed, you’ll be prompted to install it when you choose Animation > Browse Presets.
Customizing an animation preset
After you apply an animation preset to a layer, all of its properties and keyframes are listed in the Timeline panel. You’ll use those properties to customize the preset.
- Press the spacebar to watch a preview of the animation. The letters flip into place, and then the entire title scales down to 200%. Press the spacebar again to stop the preview.

The letters appear to ripple into the background. It looks great—but you’ll customize the preset to change the order in which the letters appear.
2. Select the Snorkel Tours text layer in the Timeline panel, and then expand the layer’s properties. Navigate to the Text > Animator – Ripple 1 (Skew) > Selector Offset > Advanced properties.
3. Click Off next to Randomize Order to toggle it to On.
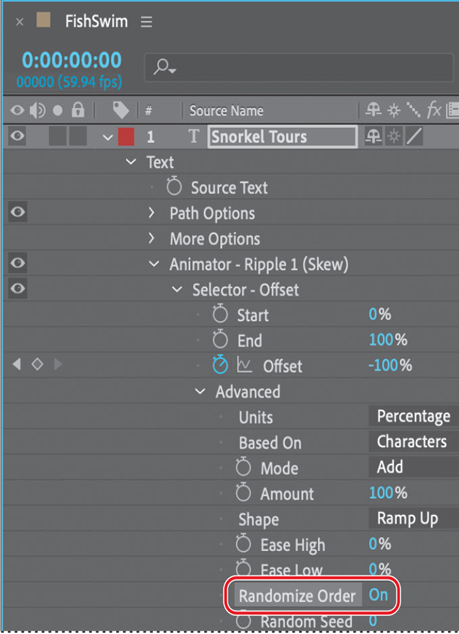
The Randomize Order property changes the order in which letters appear on the screen as they ripple into place.
4. Drag the current-time indicator from 0:00 to 3:00 to manually preview the animation you edited.

5. Hide the layer’s properties.
6. Press the End key to move the current-time indicator to the end of the time ruler, and then press N to set the end bracket of the work area.
7. Press the Home key or go to 0:00 to return the current-time indicator to the beginning of the time ruler.
8. Choose File > Save to save your project.
More Details